Amazing photos of a Beaver Felling Tree on Wildlife Camera
This past summer we have been able to capture some unexpected wildlife moments…at night…including a beaver felling a tree! Whoa! I first shared some wildlife camera photos and info about them on a Vermont State Parks blog post. Here, I am so excited to share a time lapse of pictures with you and the process of a beaver chomping down a tree. Oh boy!
At the bottom of this post I listed the wildlife camera we use, some tips in case you want to set up a camera in your backyard, and also please check out this Vermont State Parks Post if you want to see a bobcat (what!?) and other wildlife as well. 🙂
Also, in case you might have lingering projects over your head and needing a little inspiration, I will give you a little back story to these beaver pictures. Our first wildlife camera was a gift from Chris’ parents. Unfortunately, and we knew better, we left it on a trail where trucks occasionally drive once a gate is opened, and it got taken. Ok, sad face, it happened, moving on. We found another wildlife camera that didn’t cost too much, $63 online. Ordered it, it came, and then it sat on the shelf for over a month. As time was passing, I kept walking by this tree that the beaver had been gnawing on and I kept thinking, “Oh I should really put the camera up,” but life just seemed so busy. Days kept passing. I was tired. I struggled to find the energy to do this simple task: read instructions, insert batteries, bring cam out to woods, put on tree, turn on and walk away. After one particularly long work day I wasn’t even going to go for a walk. I was too tired. I kept sitting in my room as it was getting darker with this nagging feeling. I went out to look at the tree the beaver kept gnawing on nightly. Looking at it, I knew if I didn’t put the camera up today, I would miss this chance.
I ran back to the lodge, read just enough of the instructions to make sure I had put it to the photo setting and ran back out to put it in the woods. In the photos below, you can see I got these amazing photos which I am grateful for. I was so excited after downloading these pictures and put the cam back out thinking I was basically guaranteed to get more beaver photos. As fate would have it, a big wind storm came in and blew a tree down right on top of the beaver’s tree. All I got was branches and I never got any more pictures of the beaver at this location.
So if you find yourself struggling to start some of your own projects, there may never be a better time than now. If I had hesitated any longer to at least figure out the very basic steps needed to turn on the wildlife camera, I would have missed the one and only opportunity to capture photos like this for the entire summer.
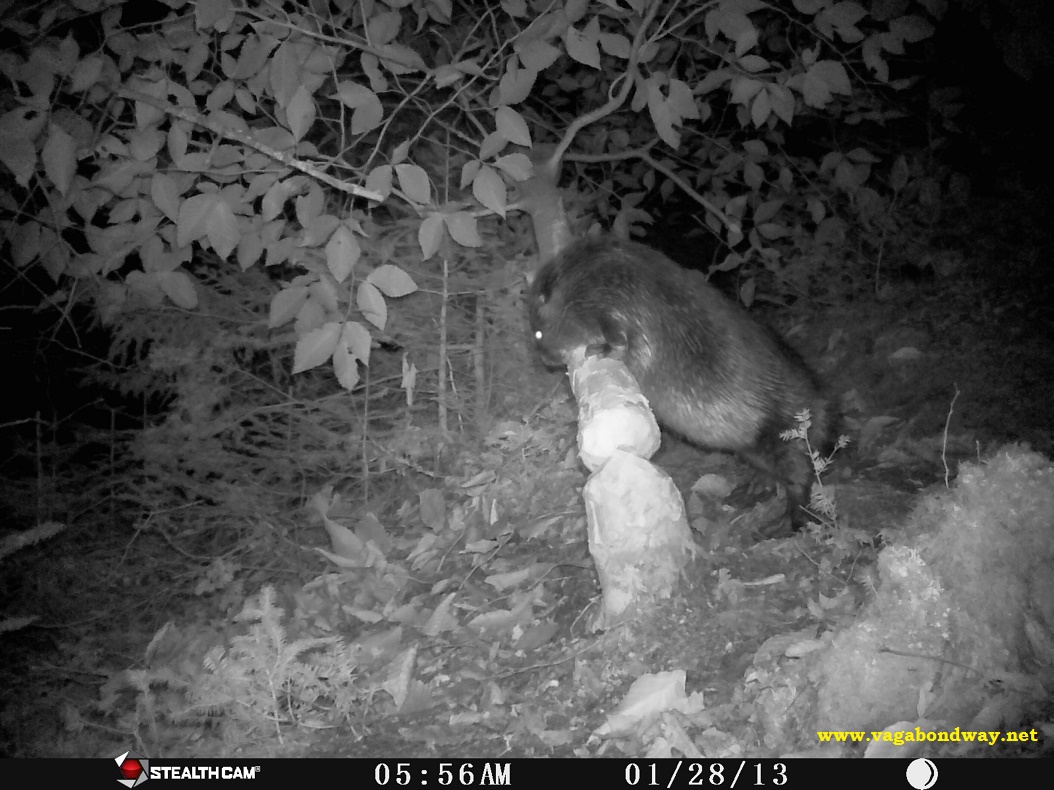
I am so glad I *just started* because here is what I saw:
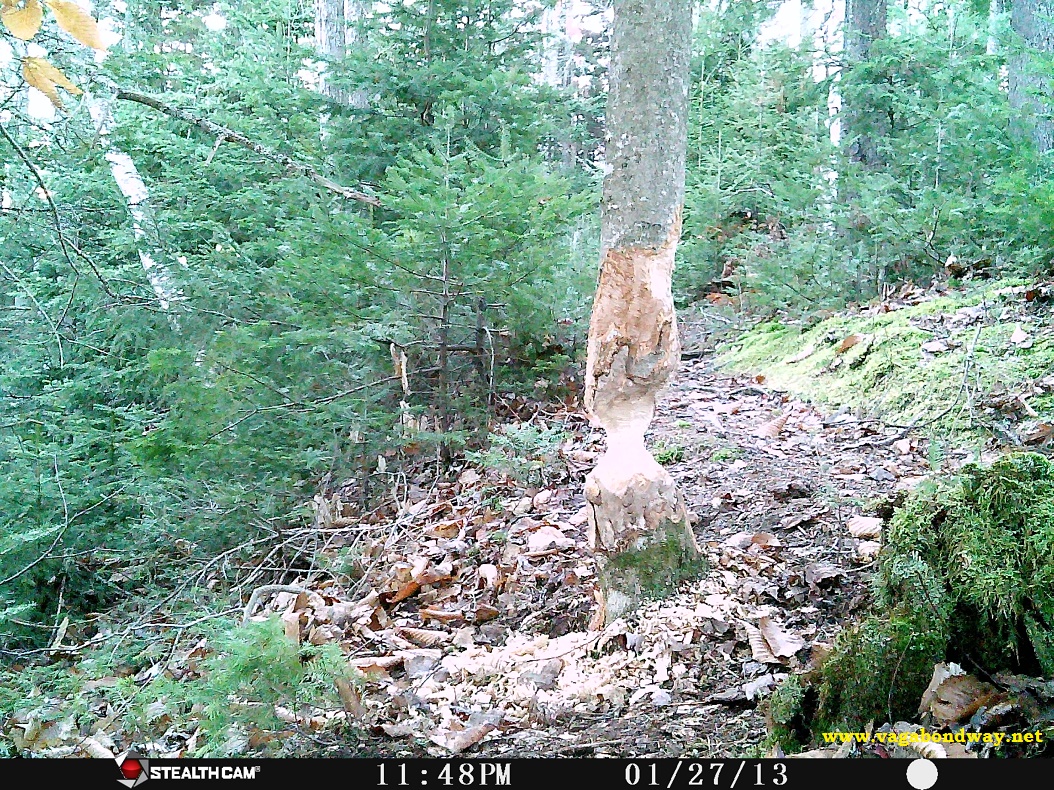
Here is the tree the day I knew it was going to go down.
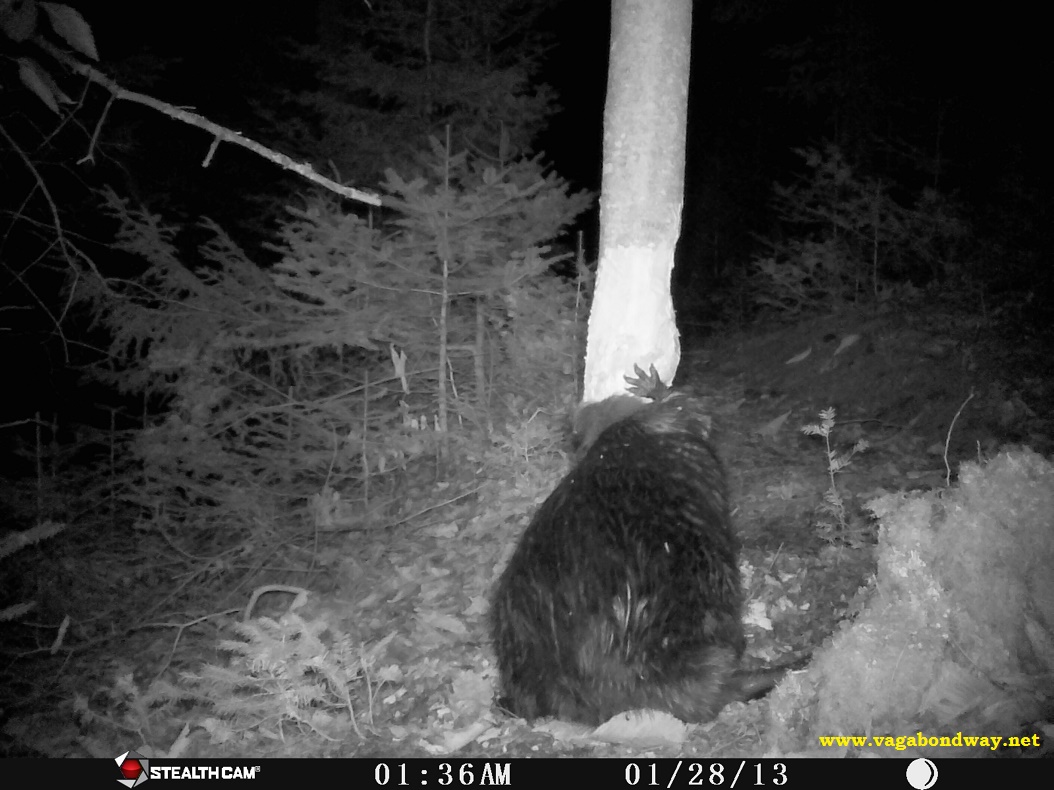
Then the beaver came to put his little paws upon the tree.
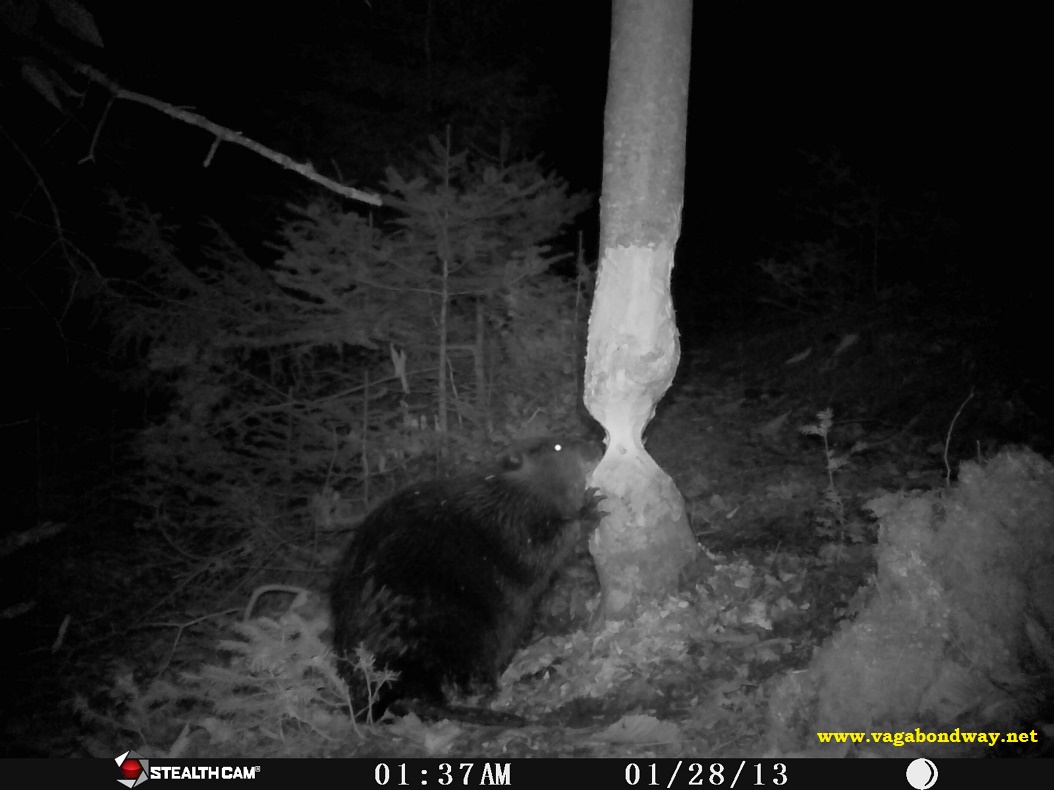
And started gnawing right in.
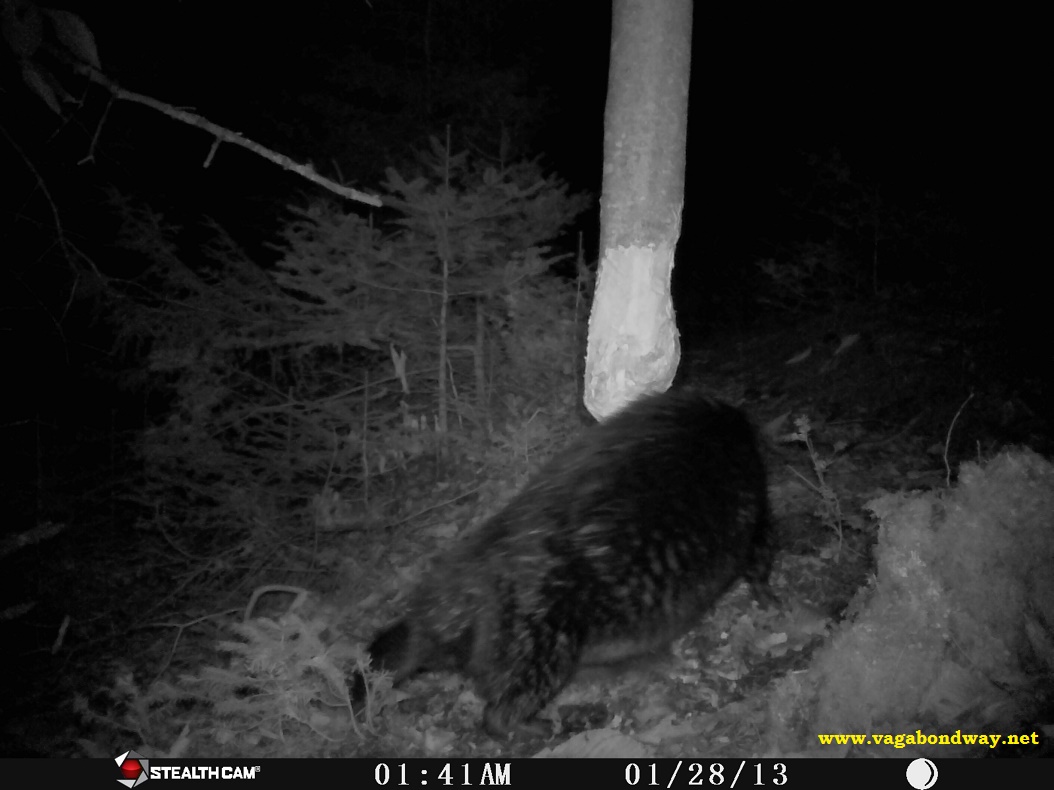
I like how in this picture you can really see his back leg.
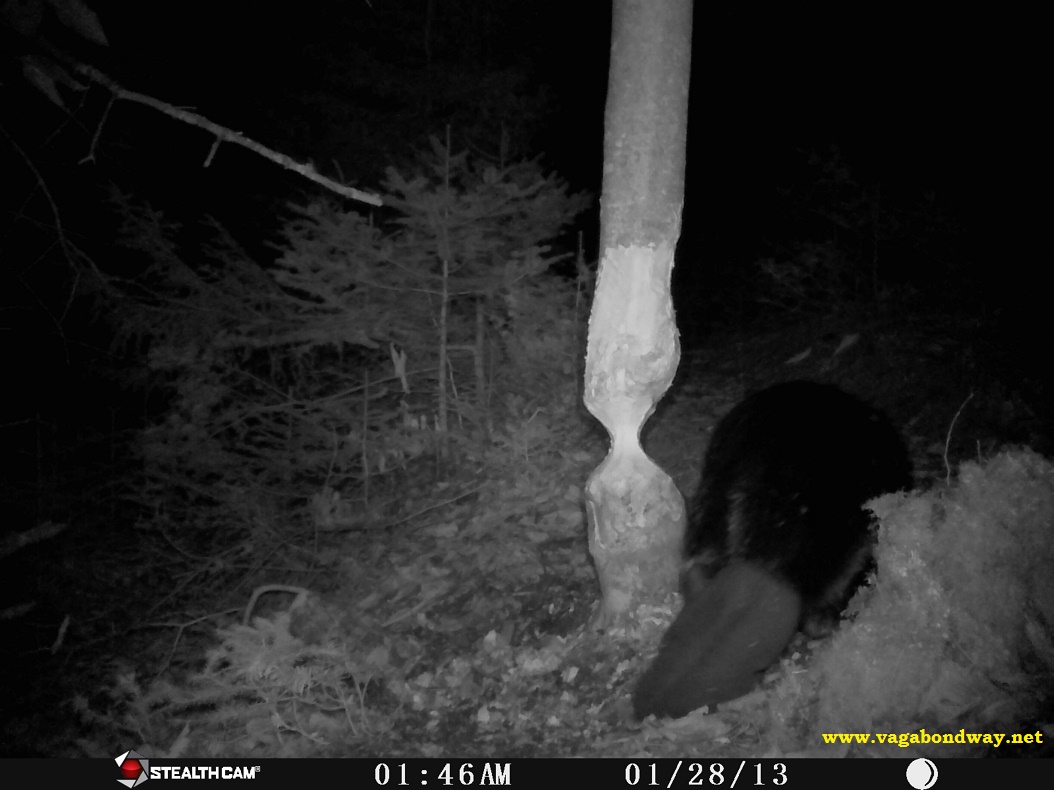
While here you get a good look at that beaver tail.
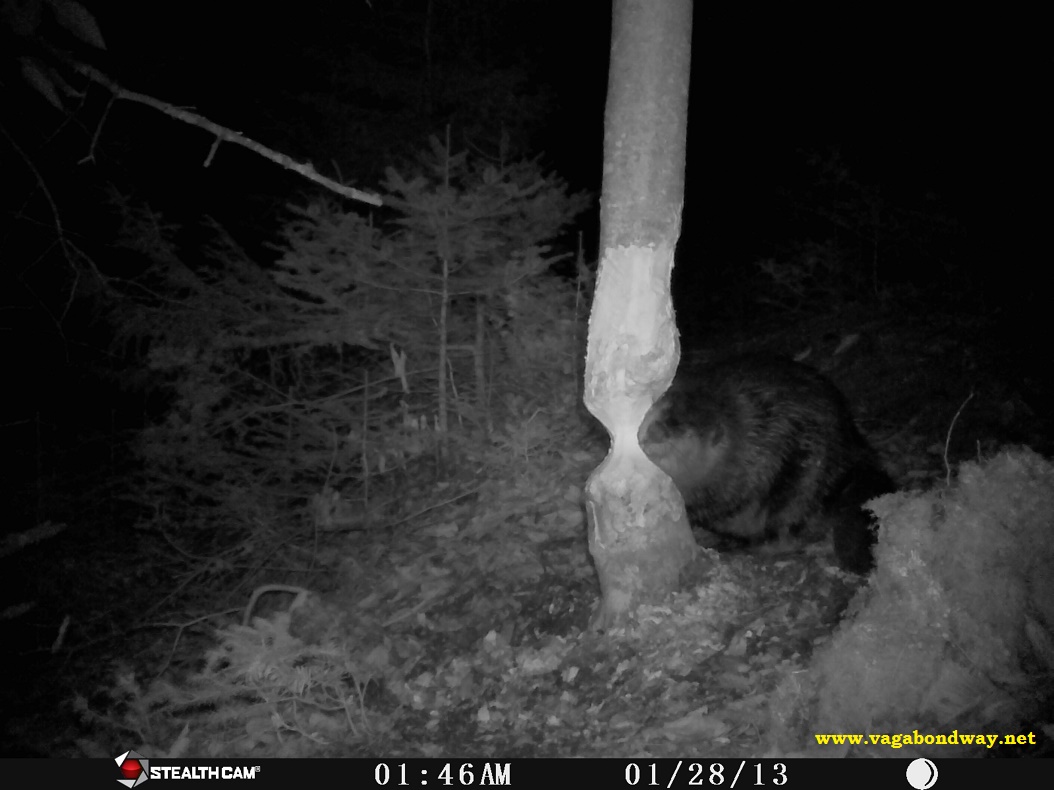
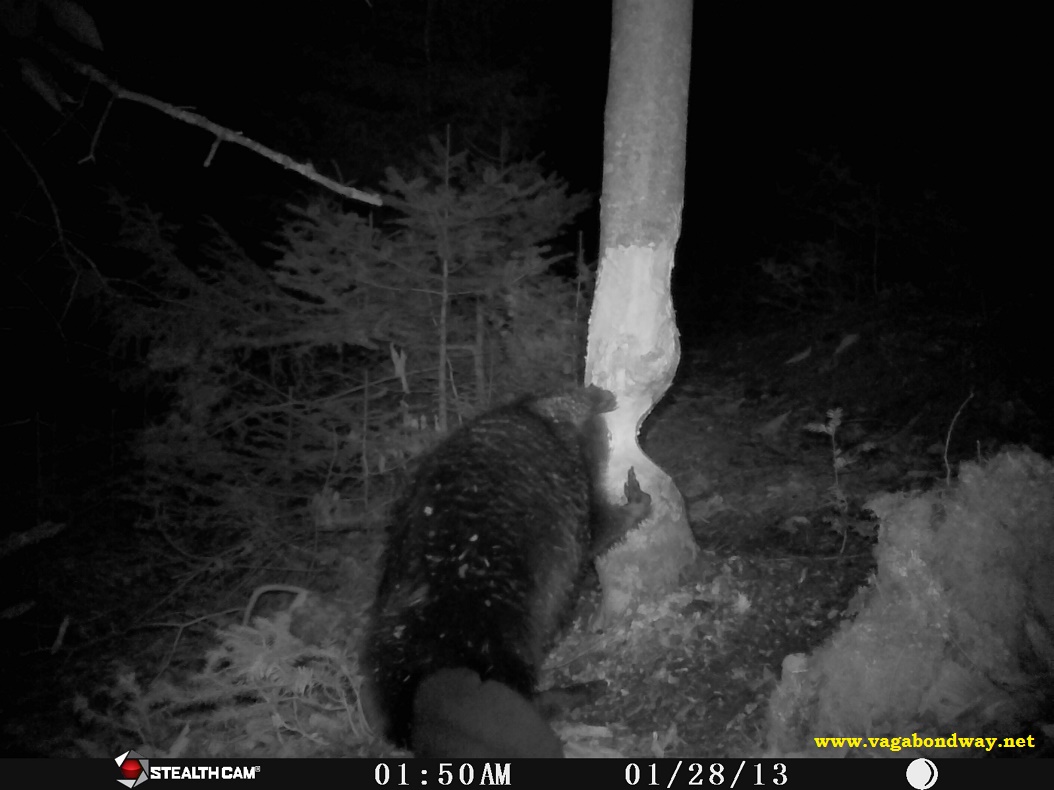
This photo is so neat to me because his face seems to fit just perfectly into the “U” shape he is carving out.
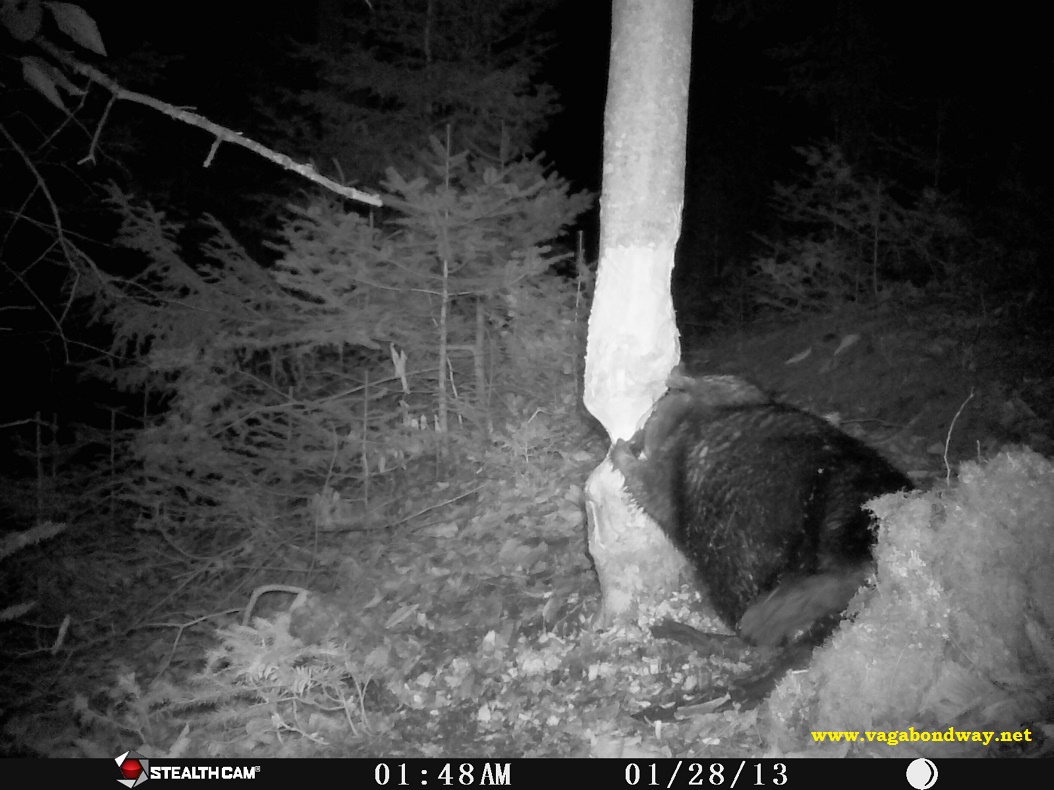
The first couple times I scrolled through these photos, I didn’t even realize what this image really captured. Here, the beaver is basically laying on his back, feet up, gnawing the tree! What!? I’ve never seen that before! How cool!
He really kept moving around the tree and is bracing with both paws up.
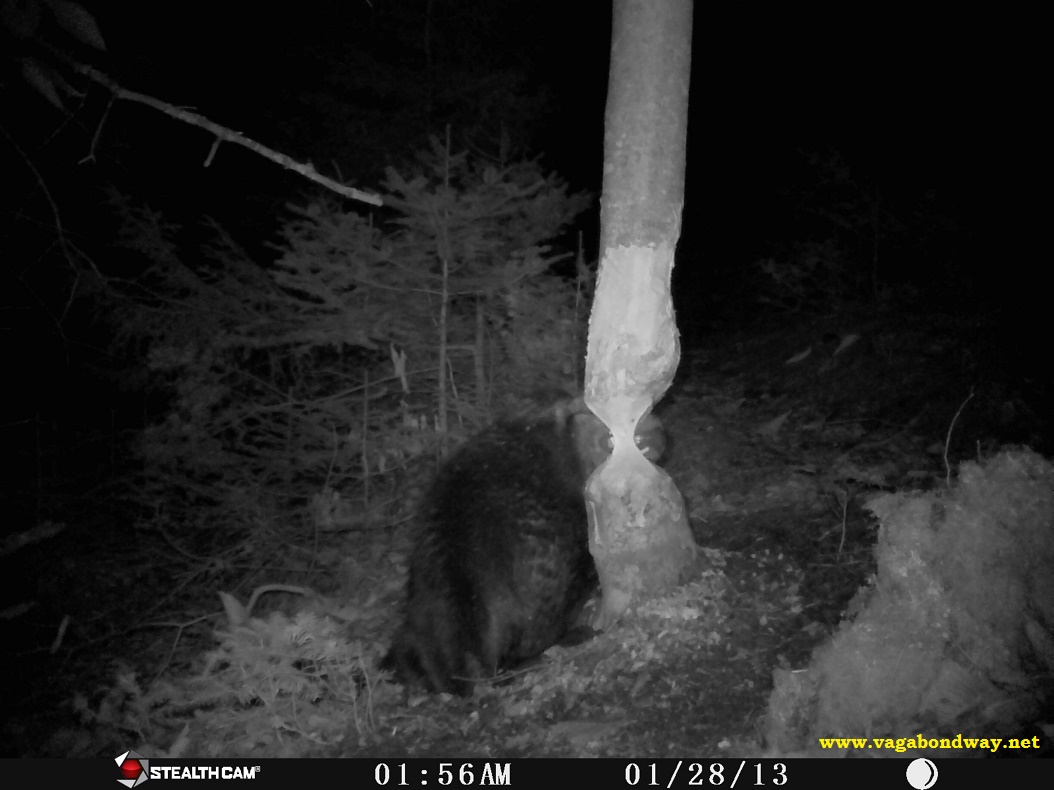
Then here you can see the teeth chomping! I just couldn’t believe the good luck I had getting these photos.
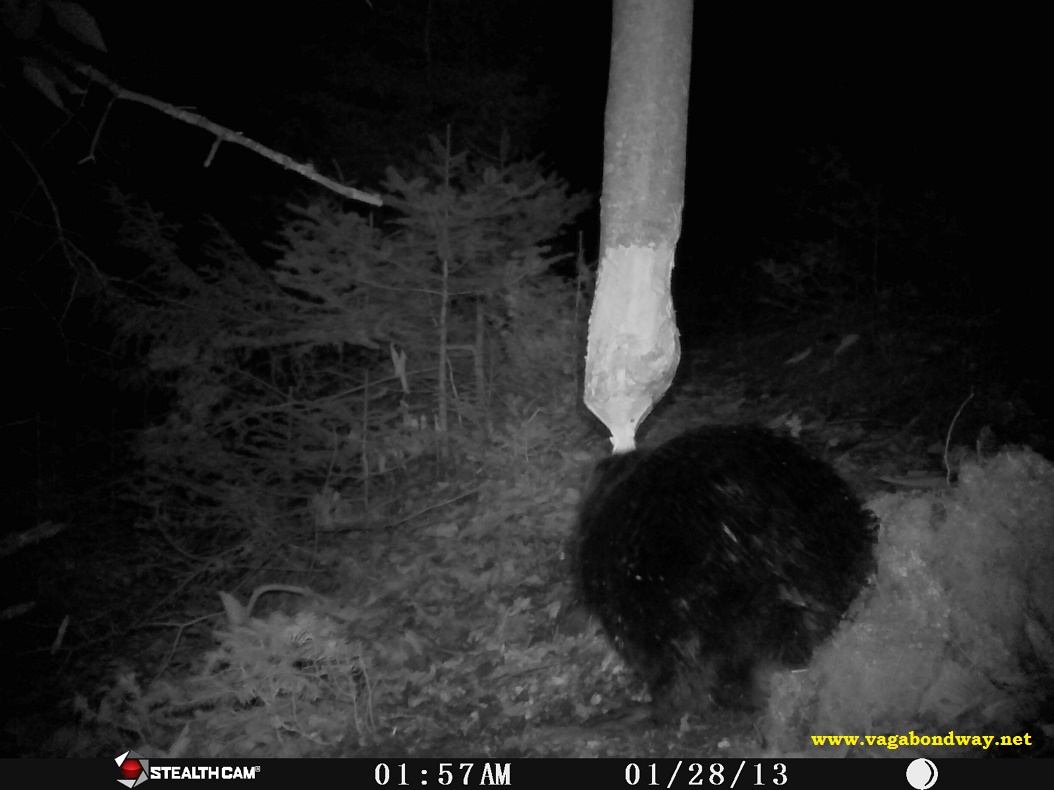
The tree is getting smaller and this is just showing what a big mass this beaver is.
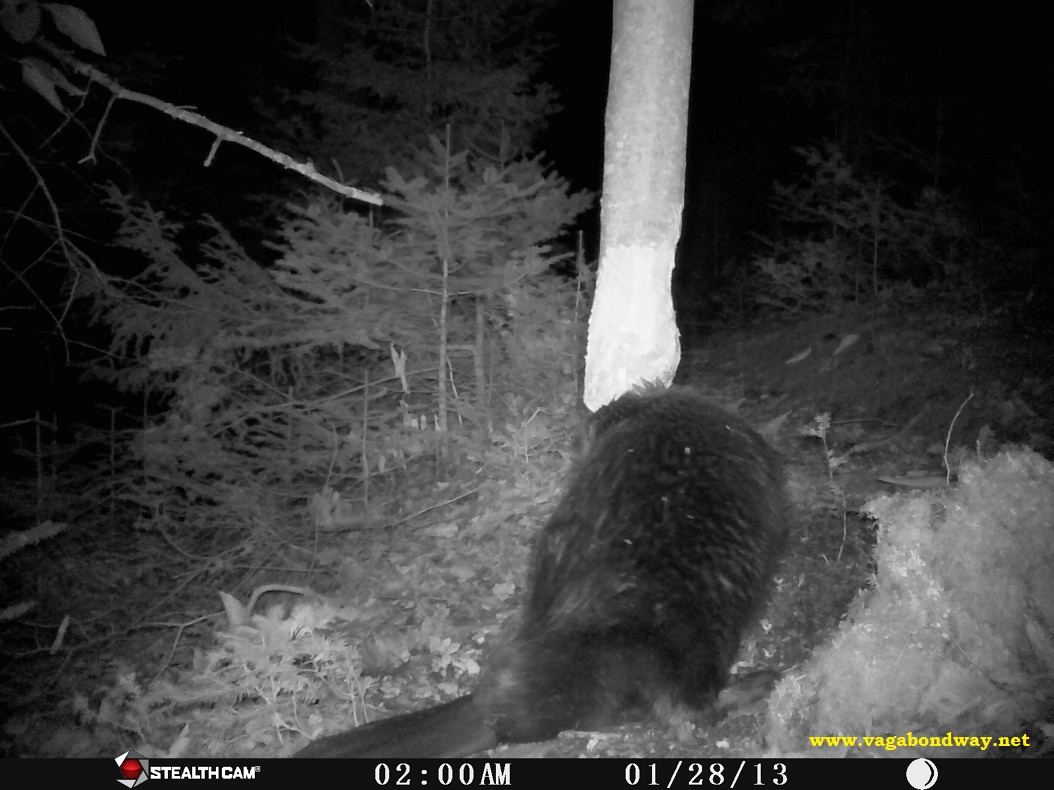
I thought this photo was interesting in that is just really showed such a nice profile of the body and the transition to the tail.
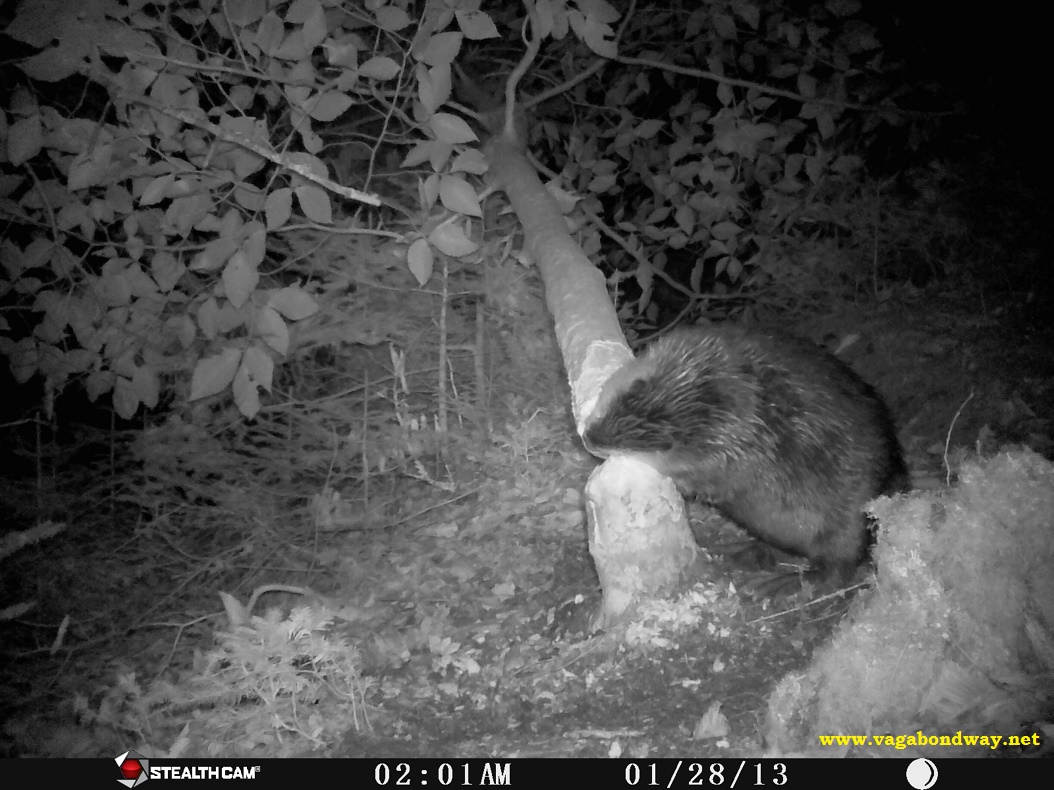
I think that little paw in the previous photo pushed the tree down! haha. Timber!
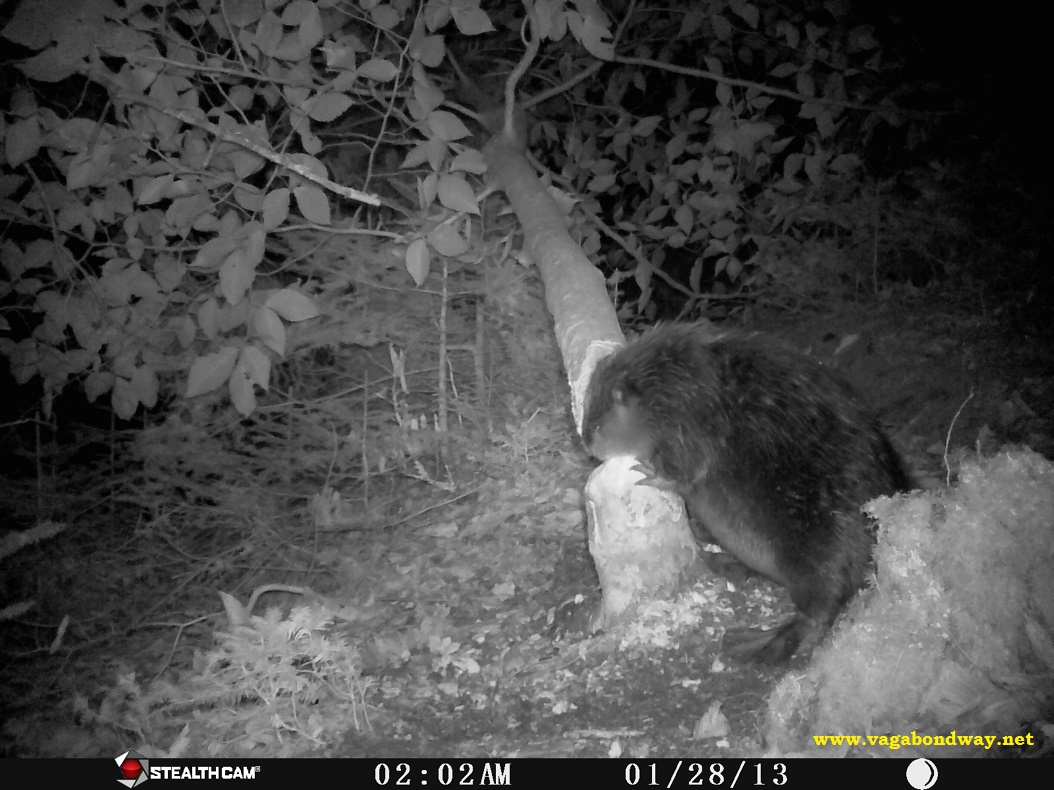
Look at those webbed feet!
Getting ready for winter, you can really see how big this beaver is.
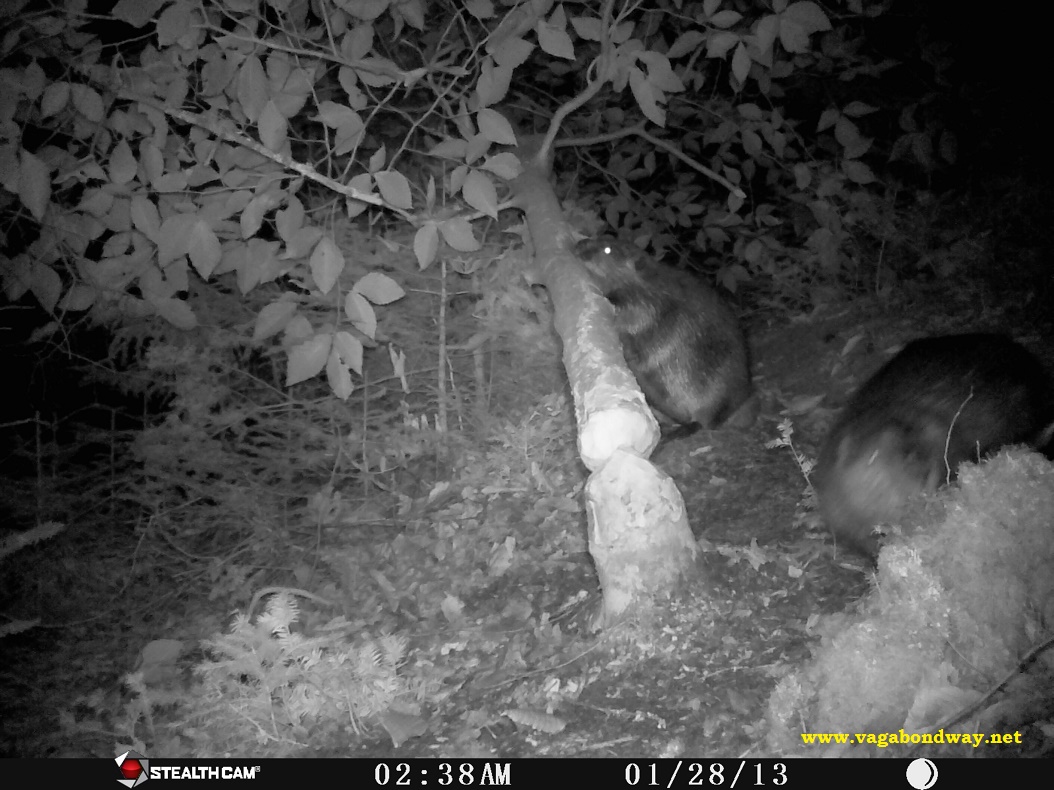
Towards the end the mate was seen in a couple of photos.
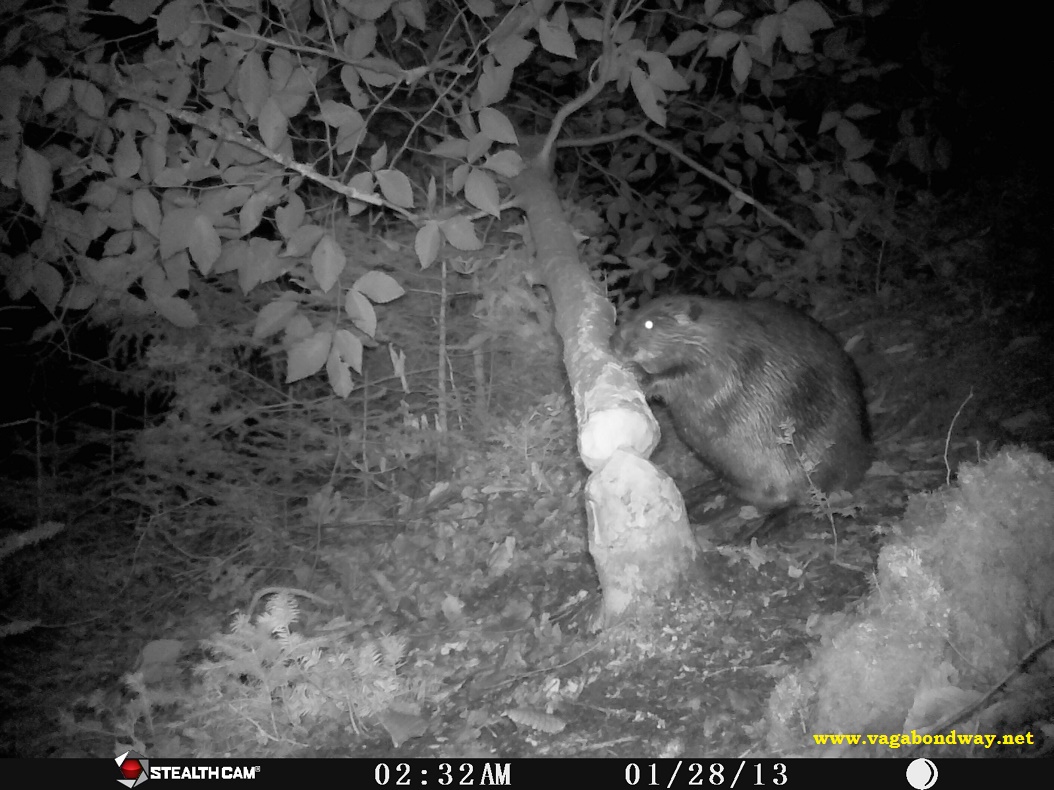
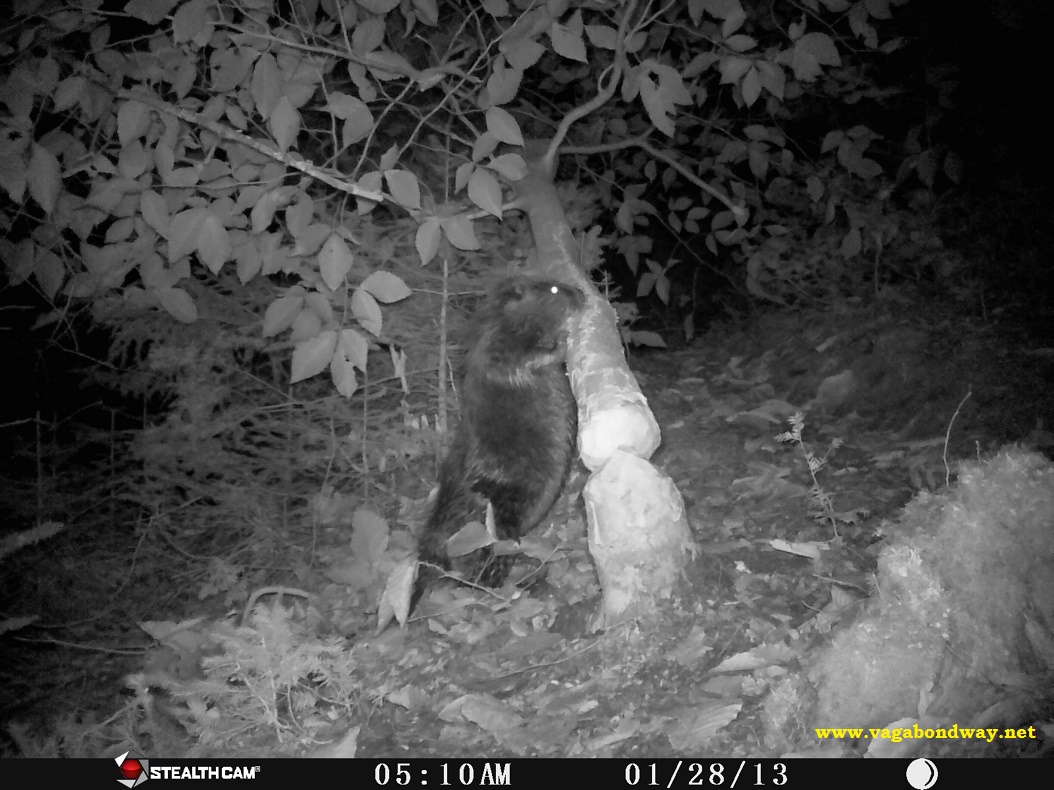
He can really stand up tall.
I just love seeing both the webbed feet and bent elbow in this picture. I just was so thankful these photos came out so well! I certainly have not seen so many up close beaver photos were I could really just stop and stare at their features. This night was one of the highlights of the wildlife cam.
So a good number of folks asked me for the specifics of which wildlife cam we were using. Some of you might notice on the VT blog post, the photos have two different types of logos. Unfortunately our first wildlife camera got taken. We then purchased a Stealth Cam STC-P12. Including a memory card, just about $70 bucks you can get your own camera and see what might be in your back yard. The camera is super easy to use. Literally you put batteries in it (I use rechargeable), put a memory card in it, set the date and time and put it out there. There’s nothing else to it.
Having a wildlife camera this summer was one of the coolest things. Now that I know how easy this was to do and that I could get a decent camera for under $70, I wish I had been doing this ages ago. As the saying goes, better late than never. The lead up to putting the camera out to catch the beaver felling the tree was just a reminder to me there will never be the perfect time to start anything. Yeah, so I might not have set the date and time for that particular instance, but I just started the project right then and there because I knew I would miss that opportunity. Life doesn’t always wait for us to be ready and the desire for perfection can be one of the most limiting mindsets for achieving goals. So if you have a beaver in your life that is just about to cut down a tree, who cares if you have the date set, put yourself out there because otherwise that moment might just pass you by. And for me, when I look back, I am way happier I at least got the beaver pictures, than sat in my room feeling overwhelmed while fussing to figure out every setting.
* * *
Tips for putting up your own Wildlife Cam:
- we bought the Stealth Cam STC-P12
and have been pleased with the quality. Throw in an 8GB
(or bigger) and put in some batteries (I use rechargeable batteries
) and you are good to go. We have been really pleased with the quality of the photos and how long the batteries will last, even in cold weather.
- the very first time you set your cam up, go to a tree literally right by your house and put it up. Then walk back and forth in front of it, take it down and go look at your pictures. This will give you a good idea of what angle you will want, height, etc. You don’t want to put the cam out for days on the trail only to get the feet only of passing animals.
- put it up and leave it for at least three days if you can. We found we seemed to get more animals if we could put the camera somewhere and then not go back to it for a few days. Maybe it was just coincidence? Or maybe it gives more of a chance for our human scent to leave the area around the camera? Either way, we had better results when we could do this.
- if you are worried about it, you can get a thin wired type bike lock and put that on your cam.
- if you haven’t gotten any images on the camera for a while, and you keep down loading your pictures and are staring and staring, zooming in, thinking you see an animal in the photo, then trick yourself to assume it could only be a fisher in the blurr of an image, no. You are wrong. It’s a stick. Feel sad. Delete your pictures and put the cam back out there.
- it’s really that simple. Put it out and forget it. You really can’t go wrong. The biggest thing is just put your cam in the woods somewhere!
If you do get a wildlife camera, best of luck! We found it to be so much fun and would love to see any pictures you get! Please also remember you can see some of the other cool wildlife we saw on the post: Operation Wildlife Cam: Where the Wild Things are at Seyon Lodge 🙂
 Previous Post
 Next Post
Very nice and unusual sequence of photos for this little guy, seems you BOTH were very busy!
Thanks! It was just such good luck to catch all this. A very cool experience and gave me the boost to try and keep the cam out there as much as I could! 🙂
Nice article and pics. And now….maybe they have little beaver kits in their lodge!
Yeah, you know I have never seen any kits here, but now that you mention that, it’s like, why wouldn’t they? Hmm…now I’m wondering even more. Have to keep the cam out there more and see what comes up! 🙂
Wow! What a delightful surprise and very cool! Imagine that beaver working away and
not knowing he was on “candid camera” LOL Sure puts a smile on my face! Thanks
mare
Oh good, so glad you liked the pics! Yeah, I am still on a high that I got such good photos of this! In all the time here this really was the one and only chance we had to knowingly set up for this. It was so sweet. Sure glad I just put the cam out there.
Great photo! Can’t believe the amazing shots of the beaver! He looks so happy and content just gnawing away! =)
Thanks! I know what you mean, he was just gnawing away. It was so cool to just catch glimpses of all these moments in time. 🙂
Not only are the pictures Amazing, but the writing was captivating as well. This time of year we need that boost of encouragement to help motivate us to continue with our New Year’s resolutions. Seeing what this beaver accomplished in a matter of hours is what I needed to prompt me to keep going, one bite at a time.
You and me both! We can all take a lesson out of the books of busy beavers, eh? Glad you liked it and thanks for the comment! 🙂